When I started wanting to edit photos and make banners and posters, I had virtually NO knowledge of how to do it and no money to buy expensive software either. So, I downloaded the free program GIMP.
It took me a while to get use to it and to figure out what everything meant, but after playing around, I realized that I could do basic stuff pretty easily.
So, I decided to show you how to make a very simple banner with GIMP using one your own photographs and text.
The first thing you'll want to do is install GIMP 2.6 onto your computer. After you have opened the program, go to "file" and a little box will come down. Now, there are two ways that you can make your banner the size you want it. You can start out with the size you want as a "new" image, as we are goin to do here, or, you can crop your image to the desired size. To do the former, click on "new" after you have opened the "file" box.
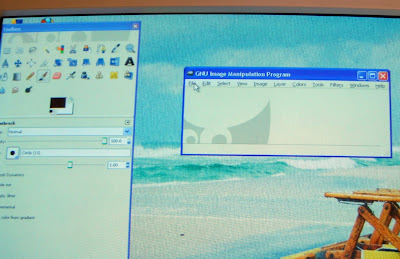
After you have clicked on "new" a little box will open that will let you choose the size you want your picture to be. Since Etsy's banner's are 760 x 100 pixels, that is what I set my box to. Then click ok.

Then you will see you blank banner open in the size you want.

Next we'll open our photo. Go back to "file" and then click on "open as layer." Since we already have a box open that we want to work with, everytime we want to add something to go inside our opened box, we will open it as a layer. Otherwise it would just open in a new box.
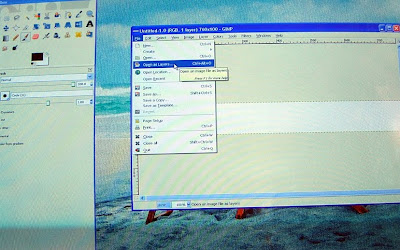
Ok. so I opened the picture I want. I can't see all of it because it's inside my banner. But I do know that my picture is too big. I want all of the words in the picture to show up inside my banner (you'll have to make sure that the photo you are using is big enough to scale and crop so that an interesting part of the photo can be used. I would suggest using a picture that has not already been cropped close.) So, I'm going to have to scale my picture a little bit.
My picture is the layer, not the image (image means the whole thing, layer is just the part we just opened inside our image.) So, go to "layer" and then down to "scale."

Again, you'll see the box open on the side. This time, I'm not sure how big my picture needs to be to get the part I want inside my desired frame. So, I'll scale it little by little until it looks right.
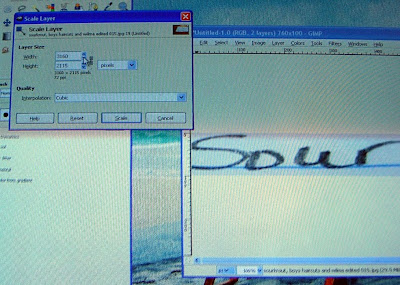
I can use the cross icon (my arrow is on it on it below) to move my photo around inside my banner box each time I scale it down so that I can frame it the way I want it.

If you accidentally scale it too much, or do something else you don't want, you can undo it by going to "edit" and then to "undo..."
So here's the part of the picture that I'm using and it's now the right size.

Now I'm going to add some extra text. To do that, go to the big "A" in your tool section and click on it.

Then click on the area in your picture that you want to start writing in (you don't have to be too precise because you can move your text around later.) After you have your area you'll see a box (on the left) where you can choose you font and the color you want it to be. Also, you can choose how big you want it. Play around until you find something you like.
Then enter the words you want in the text box that pops up. If you can't find your text box, try clicking again on the "A" or clicking again on the spot you want the text to go. It should pop up then.

After you write what you want and it's the size you want, you can go over to the words and adjust their placement. Just take your cursor over there and it will automatically turn into a cross.

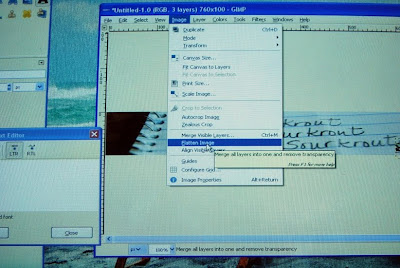
When you are satisfied with your picture and text, go to "image" and croll down to "flatten image." This will make your banner box, your photo and your text all become one. Then you can save. To do that, go to "file" and choose "save as" and then write the name you want to save it under in the box and hit "save."
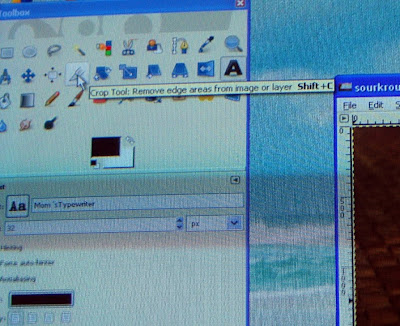
If you choose to make your banner the other way I mentioned, by just cropping a photo, then below is the "crop" tool. You can open your image under "file" and "open." and then crop to the size you want. To crop, press enter.
 I didn't end up using the banner I just created (the one I did use, which I created using that same process, is below,) but I hope this was helpful to you in getting to know GIMP. it's not as hard as it seems, and it feels good to know that making a banner can can be free.

7 comments:
This is a great tutorial! I'm bookmarking so I can learn how to do this when I have a bit more time. Thank you
Fantastic tutorial! I am now off to play a bit!
Thank you so much!
Thanks =)
Great tutorial, and I love your blog banner! GIMP rocks :) The only thing I would add is that if you want to be able to modify your banner in future, don't flatten the image and save as .xcf. Then also save as .jpg/.gif to use on your site. The .xcf version will keep all the layers separate so you can easily come back and change things later. How to come back and change a banner at a later date baffled me for ages, so I hope this helps someone!
great tip Lindsey!
Thats a fantastic entry! thank you. I didn't understand the scaling. I thought it was going to rescale the canvas. I will have to work with that some more.
love the banner and great tutorial. another great free software is http://paint.net/ - also there are a ton of free online ones including
https://www.photoshop.com/ and http://www.pixlr.com/ - google it you will be amazed. they all have there pros and cons.
i purchased a pro picnik and highly recommend it as well to go with my flickr.
thanks again - love the banner!
Post a Comment